

Concrete is the superior building material for most, if not all, construction projects. In fact, there’s likely concrete used in nearly every building project that’s completed in the modern-day.
If concrete isn’t taking the form of the foundation, it’s used to help support different elements within the structure. But today, we’re talking about a more utility-based use for concrete.
A solid concrete slab is commonly used for basements, garages, driveways, flooring, and more. Here are the steps you’ll need to take on how to pour & form a solid concrete slab successfully.
What You Need to Pour Concrete
Prepping and pouring the concrete is really just part of it. Before you can get started on that, you’ll need to gather the tools and materials you need.
Tools You’ll Need
- Circular saw
- Hammer
- Level
- Pry Bar
- Safety glasses
- Tape Measure
- Rubber Boots
- Rubber Gloves
- Mason Line
- Sledgehammer
- Wheelbarrow
These are the tools you’re going to be using the most, but there are a few others that you’ll want to have as well.
- Yard Rake
- Builders Level
- Plate Compactor
Materials Required
- ½” diameter rebar
- 6-mil plastic
- Anchor bolts
- Concrete
- Duplex nails
- Forming lumber
- Packable fill
- Tie wire
How to Pour Concrete
1: Prepare the Site
Preparing your pour site correctly is as important as ensuring the concrete is level when you pour it. Start by removing any sod, topsoil, or debris from the area. If you’re pouring a slab in for a garage, driveway, or patio, then you can pour gravel over the existing surface and compact it before moving on.
However, if you’re preparing an area for new construction, then excavation will be necessary. In this case, you’ll want to remove the topsoil down to the subgrade and then level it out as best as possible.
2: Set and Level One Side
Once you have a flat surface to work with, use your builder’s level to mark off where the slab will be placed and start leveling the high side.
- Cut a 2×12 (or splice when needed for longer stretches) for one side of the concrete and nail it to a corner stake.
- Next, level the 2×12 nail it to the second corner stake.
3: Stake and Brace the Side Form
Take your mason line and stretch it just above the top edge of the 2×12. Align the 2×12 with the mason line and brace it with 2x4s spaced every two feet.
When hammering, use a sledgehammer on the backside of your 2×12 to brace it and absorb the shock of nailing it together.
Brace the back of the stakes with kickers to help keep the boards from moving at all when the fresh concrete is poured.
4: Square, Level, and Stake the Other Sides
When you’re finished with one side, it’s time to move on to the next side.
- Cut a second 2×12 to the proper width of the slab.
- nail one end to the braced form and use the calculated length of the diagonal to set the form at 90 degrees.
- Drive a stake at the end and level, straighten, and brace the second form board.
- Add the third side and repeat the same steps.
5: Fill and Level Fill
Because your site has already been prepped and most of your topsoil removed, adding fill is the obvious next step.
- Spread and tamp a three-inch layer of granular fill to within five inches of the top of the forms.
- Stretch a string or mason line across the top of the forms and measure down to the ground in several places to get an average height.
- Subtract the thickness of your slab and use the number you get to calculate how much fill you’ll need.
- When placing fill, slope it towards the edges to create a thickened edge of concrete.

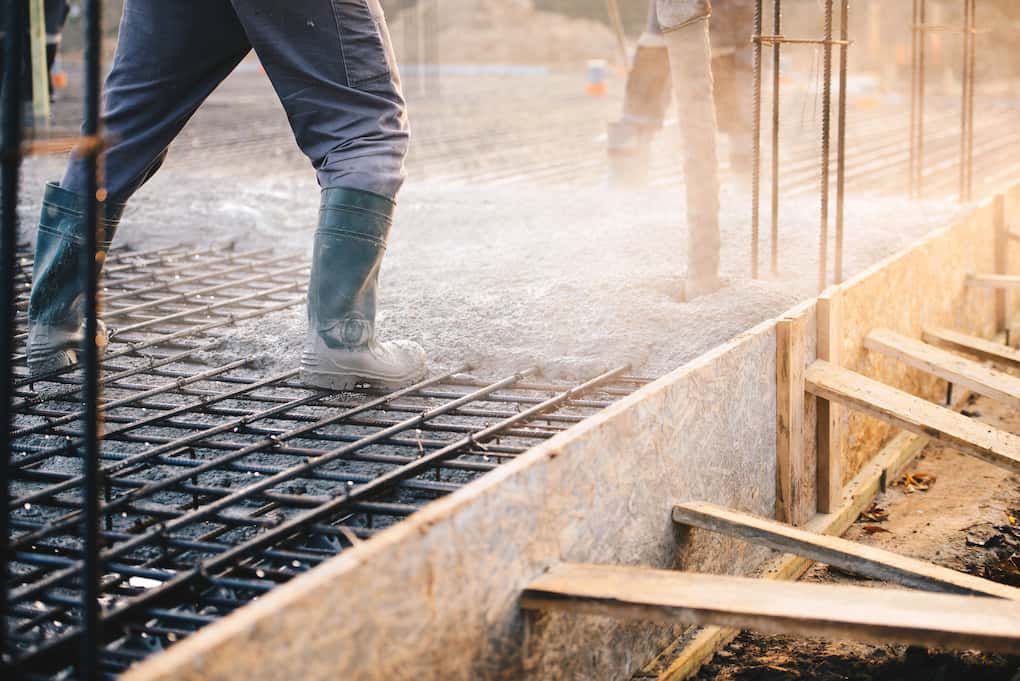
6: Pack Your Fill
Using a plate compactor, you can now pack the fill to prep it for pouring. When packing the fill, be sure to leave a 12×12 inch trench around the edges for the thickened edge.
- If you’re building a heated structure on the slab, be sure to cover the ground with a 6-mm poly after compacting the fill. If it’s not a heated structure, you won’t need the covering.
7: Tie in Rebar to Strengthen
Rebar will help strengthen the slab’s edges and keep it from cracking.
- Tie two bands of 1/2 inch steel to rebar stakes set roughly 4 inches from the edge of your forms.
- Cut and bend rebar to run along the entire perimeter of your new slab.
- Splice different pieces together by overlapping them at least six inches and wrapping tie wire around the overlap.
- Use rebar stakes for support.
8: Partition the Slab
Creating partitions within your slab is important for forming a healthy slab.
- Lay a grid of rebar spaced four feet apart over the fill.
- Drive the slab with 2x4s nailed to a 1×3 stake.
- Use a string to align the heights of the top edge.
- On the edge of your form, mark where the door openings will be and where the anchor bolts are going to be. This helps move faster through some of the next steps.
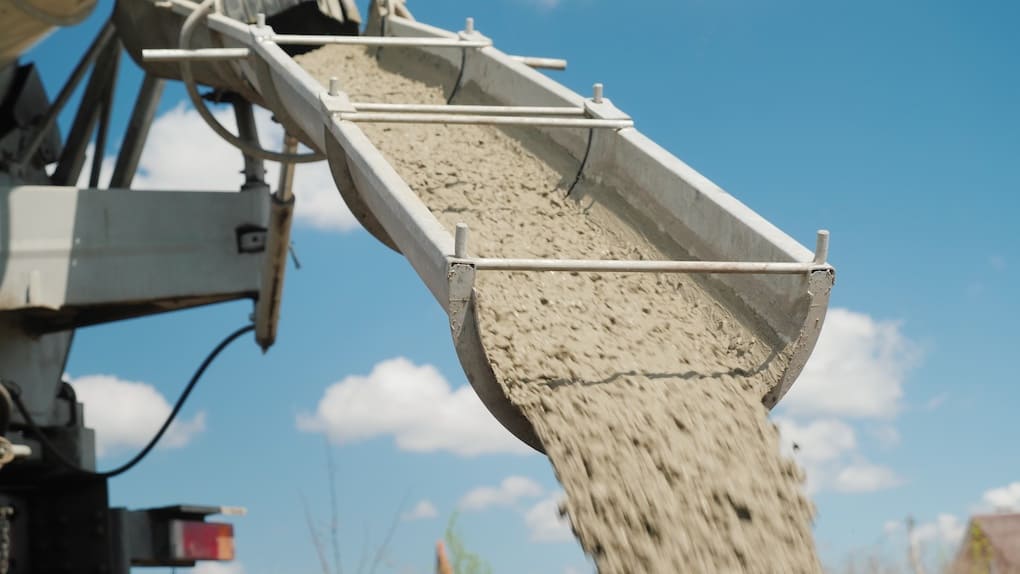
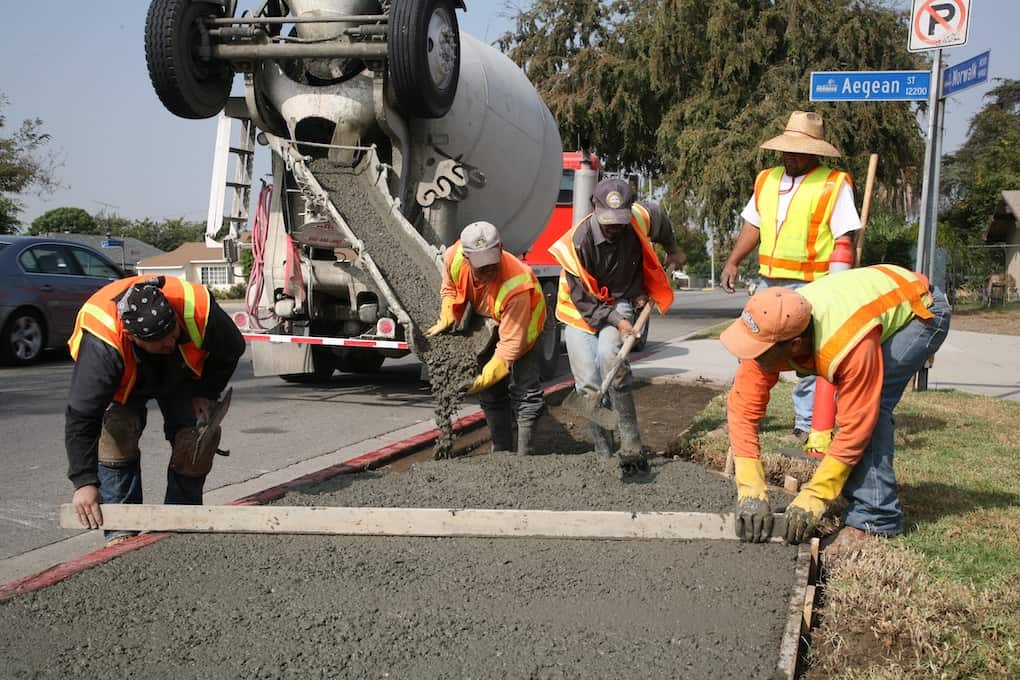
9: Get Ready for the Concrete Truck
To figure how much concrete to order, you’ll need to multiply the length by the width by the depth of your slab. Be sure to account for the trenched perimeter as well. Then, divide that total by 27 and add 5 percent. This should give the number of yards you’ll need to pour the slab.
Your local dispatcher should recommend a good mix for the project if you explain what you’re doing and how large it is.
Check your concrete forms again to make sure they’re square and level.
Be sure to have your wheelbarrows and helpers ready. Additionally, you’ll want to plan where the truck will start pouring and where it will finish. This will help you smooth the concrete well.
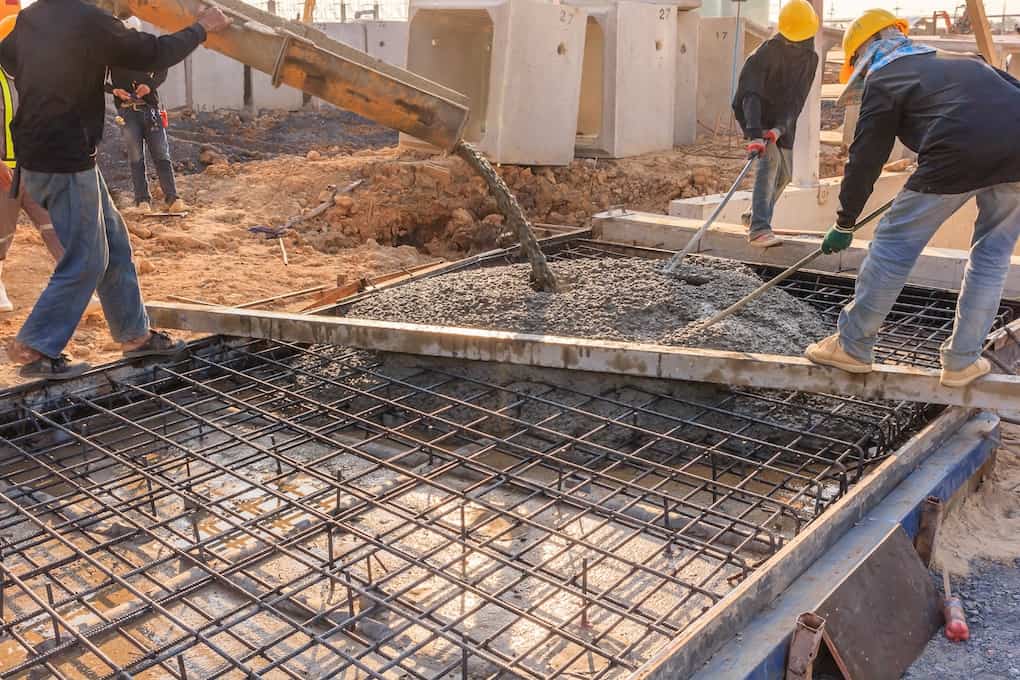
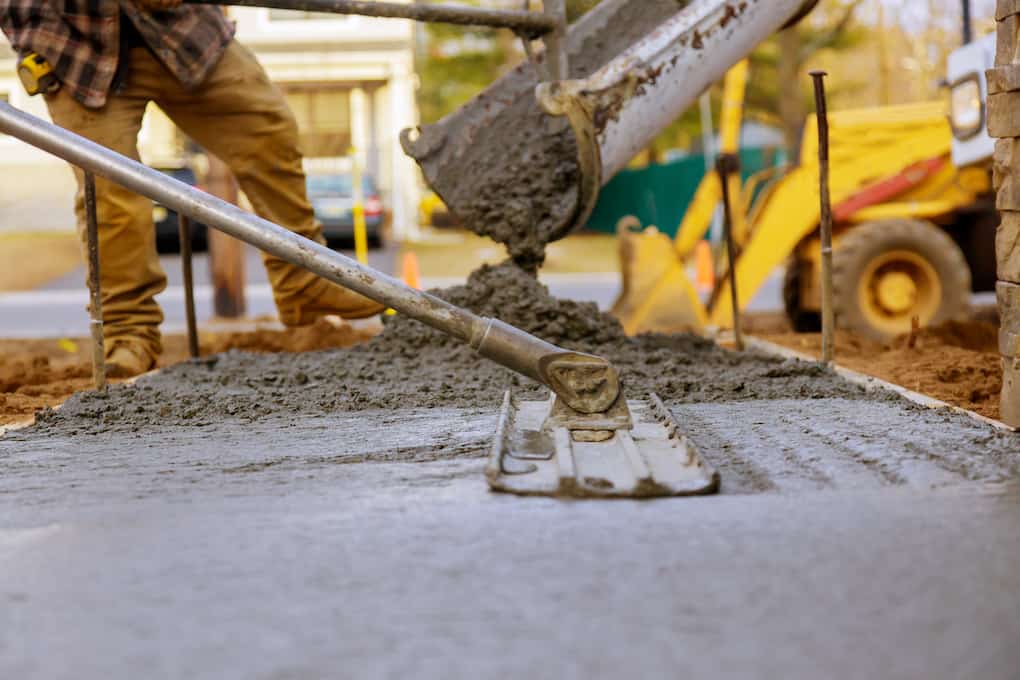
10: Pour and Level the Concrete
After the concrete is poured, you’ll need to use a straight 2×4 board to level it. Drag this board across the edge boards, making as many passes as you need to level and flatten the area successfully.
Have someone on standby to help you add or remove concrete as needed.
After you’ve gotten it mostly level with the 2×4, you can use a bull float to flatten it all out.
11: Round Off the Slab Edges
You’ll want your slab edges to be rounded off. Using an edger, run along the edge of the concrete as soon as any surface water disappears from the concrete.
Work the edger around until the edge is solid, smooth, and starts to hold its form well.
12: Set Anchor Bolts (When Necessary)
If you’re building a structure on the slab, you’ll want to start placing your anchor bolts into the concrete.
- Press your bolts into the concrete before it hardens but after it’s too soft to support the anchors
- Place your bolts around six inches from the door openings.
- Bolts should be placed every six feet and one foot from each corner.
- Be sure to leave 2.5 inches of the bolt exposed.
13: Cut Control Joints
Forming control joints with your groover by running it along the edge of a straight 2×4 is an important part of the process. These joints will help to stabilize the concrete long-term and keep it from cracking.
14: Smooth with Trowels
When the concrete can support your weight, you can start smoothing it out more with trowels.
- Cut two squares of insulation foam to use for kneeling boards so that you can reach across each section of concrete.
- Cut grooves every 10 feet or so in larger slabs.
- You can start smoothing the concrete with magnesium floats when the grooves are in. By doing this, you’ll be able to remove imperfections.
- Any marks, humps, or dips left by the bull float and edging can be removed with the hand float.
- After you’ve gotten smoothed well, you can further smooth it with a steel trowel.
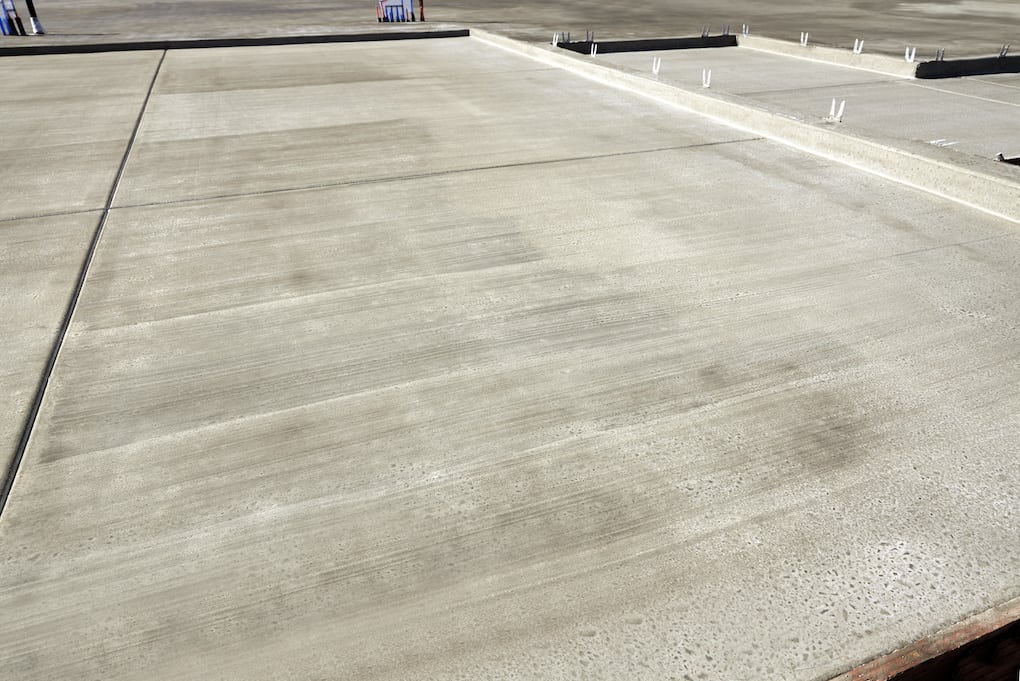
15: Let the Concrete Set and Remove the Forms
Lastly, you’ll need to let the concrete set up overnight and then carefully remove the form boards to let it finish setting up.
On average, concrete takes 36 to 48 hours to be fully set up and then another couple of days to cure. Don’t rush the process because you can damage the concrete if you move too fast.
Here’s a great video that will help you break down the process: How to Pour a Concrete Slab for Beginners
Getting the Best Results for Your Concrete Project
A lot goes into successfully pouring a concrete slab, and you must understand each step fully while taking the time to do it right. If you’re not feeling up to this DIY task, trusting a contractor like Goodmanson Construction is a great choice.
We’ve been pouring concrete for over 50 years, and our team has 150 years of combined experience working residential and commercial projects. Plus, when you work with us, you’re getting both a warranty and a workmanship guarantee that ensures you’ll be 100% satisfied with the work we do. Contact us today for a free estimate!