

The cold winter months feel even colder when you’re dealing with a concrete floor. Especially when it isn’t insulated, while that cool draft is refreshing in the summer months, It can feel like more than you bargained for when winter does roll around.
If you’re hoping to insulate your concrete floors and improve your home’s efficiency, then this post is for you. We’ll be breaking down all of the steps to successfully insulate your concrete. These tips and tricks are handy if you’re looking to finish your basement or remodel a garage and turn it into a living space.
Why You Should Insulate a Concrete Floor
If you found this post, you might already know exactly why you want to insulate your concrete floor or you might be trying to understand what the big deal is.
Improved Heating Efficiency
One of the biggest reasons you should insulate your concrete floors is that it will improve your home’s efficiency. The money you spend insulating the concrete will offer a great return when it comes to energy bills. Improved insulation keeps warmth inside when temperatures drop outside, thus creating a more comfortable environment for you and your family during the winter months. It will also keep your home at a more consistent temperature throughout the summer months.
Moisture Control
Moisture is a problem in everyone’s basement. Even if your basement never floods, it is likely that moisture still finds its way down there. This can lead to mold and mildew growth, musty odors, and even damage the structure of your home. This moisture is most commonly caused because of light condensation on the floors and walls of the basement due to the often drastic temperature difference from inside and out and the lack of insulation.
By insulating, you’ll better control the moisture and thus help eliminate mold and mildew growth.
Increased Comfort and Resale Value
Adding insulation to your concrete floors will not only increase comfort but can also add value to your home. With increased energy efficiency, added moisture control, and improved structural integrity that helps protect from foundation damage, insulating is a win-win situation for everyone involved and can help you get more money for your home when you’re ready to sell.
Concrete Insulation Options
There are two main options when it comes time to start insulating your concrete flooring. Depending on the circumstances and the ceiling height in your basement, deciding which way you’ll insulate shouldn’t be too difficult.
All-In-One Subfloor System
An all-in-one system is straightforward and fast to install, and it provides you with some help with insulation without a lot of work. While these systems won’t insulate as well as a rigid-foam system, they offer an advantage in that they won’t take up as much of your floor to ceiling height.
This makes them a great choice if you’re already dealing with low ceilings in the first place.
Rigid Foam Insulation and Subfloor
The rigid foam installation and system call for some more work on your part but the results are well worth it. The added time and material investment are the two big downsides of choosing to go this route, but the benefits far outweigh the cons.
When choosing rigid foam, you’re getting the best possible insulation for your concrete floor, but you are taking 4-6 inches from your total floor to ceiling height. Because this process is slightly more in-depth, here’s how it works.
Installing Foam Insulation and Subfloor for Concrete Floor Insulation
The foam installation shouldn’t take too long, but be sure to have all the materials you’ll need long before you start working on the job. The last thing you’ll want to do is drive down to the local hardware store and burn your time looking through the isles for the one thing you forgot about.
Materials & Tools Needed
- Concrete Trowels (if needed)
- Utility Knife
- tape Measure
- Circular Saw
- Sawhorses
- Screw Gun
- Concrete or Level Compound (as needed)
- 6-mil Polyethylene Sheeting
- 12 1-Inch Thick Rigid Foam Insulation Pieces
- Heavy-Duty Construction Tape
- 24 1/2-Inch Exterior-Grade Plywood Sheets
- 7/8-Inch Outdoor-Grade Utility Screws
- Edging/Threshold Strips
- OSB Exterior-Grade Plywood
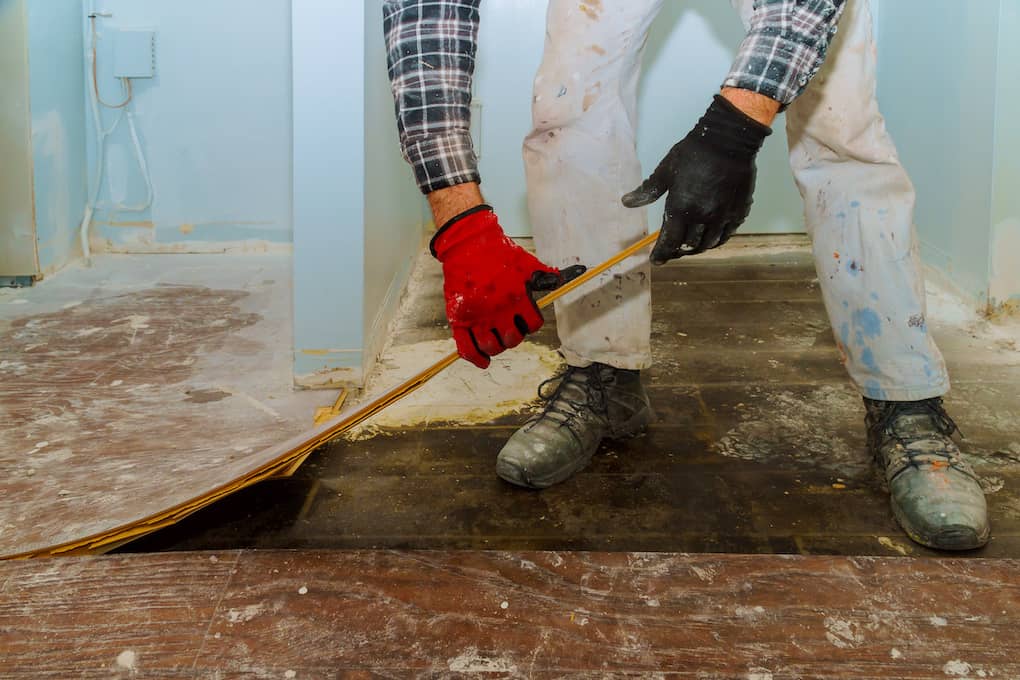
1 Clean and Repair Your Existing Flooring
Before you can start insulating your concrete floor, you’ll need to clean, remove current flooring, and repair the existing concrete. Cleaning the flooring can be as simple as sweeping everything up and making sure it’s free of dust and dirt.
Removing existing flooring is essential and obvious to the process of insulating the concrete and on the chance that there are any damages such as cracks or chips out of the concrete, be sure to fill them or patch them appropriately.
2 Lay the Vapor Barrier
If you’ve patched the concrete at all, you’ll need to let it dry before taking this step, but if you didn’t then, you can move from cleaning right to this next step. The polyethylene plastic sheet will be acting as your vapor barrier against the bare concrete floor.
Be sure to overlap your seams about 6 to 8 inches and run the sheets up the walls 3-4 inches so that no vapor or water can seep through. Use construction tape across the entire seam and against the walls to hold the vapor barrier in place.
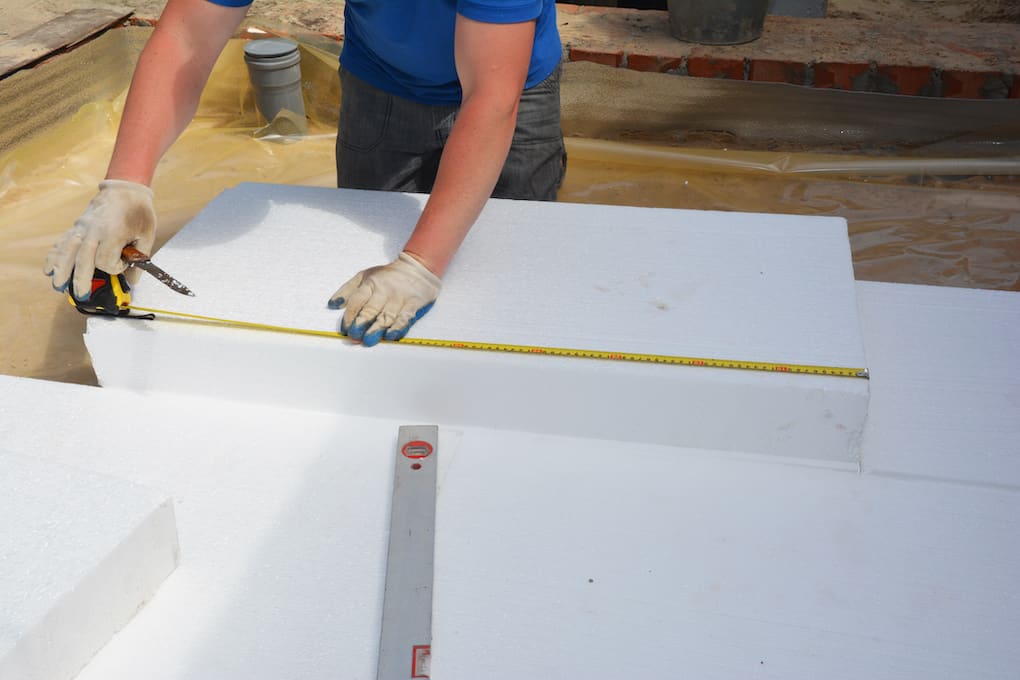
3 Lay Rigid Foam Pieces
Next, you’ll be laying sheets of high-density foam over your polyethylene plastic. Using a utility knife or hacksaw, you can cut the foam down to the size you need. Leave around a 1/4-inch gap around the perimeter and tape the seams of the foam together with construction tape.
It’s important that you use high-grade rigid foam that will hold up well to the weight of your plywood and lifestyle after it’s installed.
4 Get the Plywood and Lumber In Place
This final step in the insulation process is fairly straightforward and easy. You’ll be laying down your 1/2-inch exterior-grade plywood sheets over the foam. be sure to place each panel 1/4 inch apart from the other with a 1/2-inch gap around the perimeter. You’ll also want to ensure that your plywood seams don’t align with the foam seams. They need to form more of a grid.
When the first layer is complete, you’ll be able to add a second layer of 1/2-inch plywood over the first layer. Be sure that this layer runs perpendicular to the first with the same space. Then fasten the two layers together with 7/8-inch outdoor utility screws.
When needed, use a circular saw to trim the panels to size.
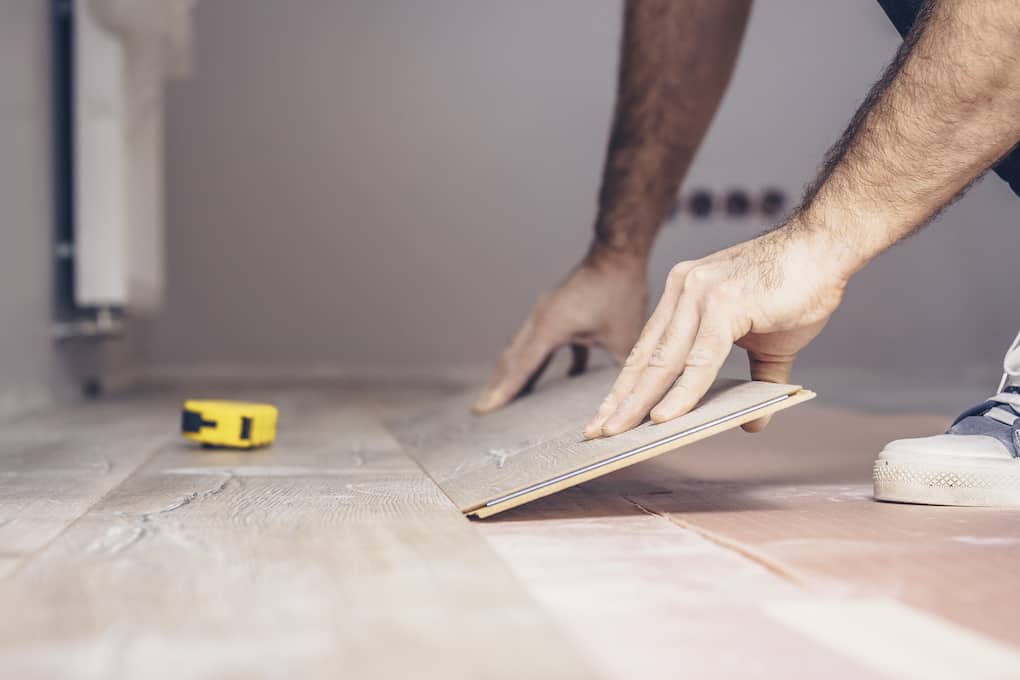
5 Install Your New Flooring Choice
Finally, after all this, you’ll be able to install your new flooring choice. It’s as simple as can be, and you can install any flooring you’d like. Hardwood, tile, concrete, mats, tiles, or you can paint and coat the plywood with Epoxy.
This DIY solution is great and very similar to what most professional companies would do when installing an insulated floor in your basement or garage. But, if you’re not feeling up to the DIY project, then be sure to reach out to Goodmanson Construction. Our team of concrete and paving experts would be happy to help you find the perfect solution for your concrete floor insulation.